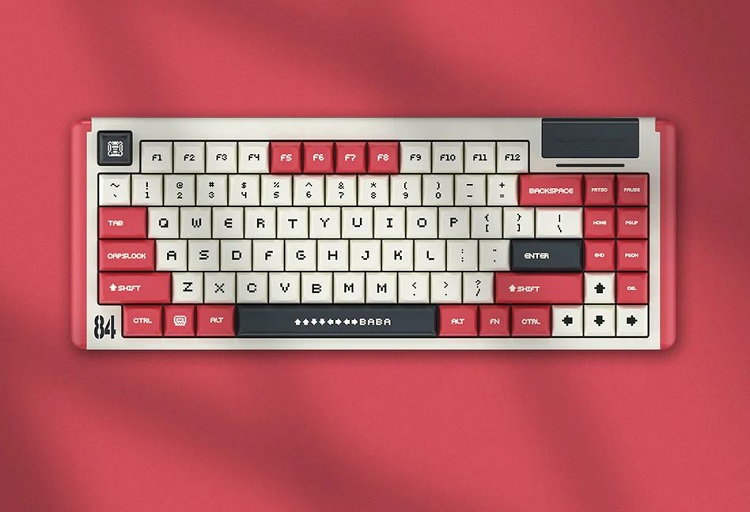
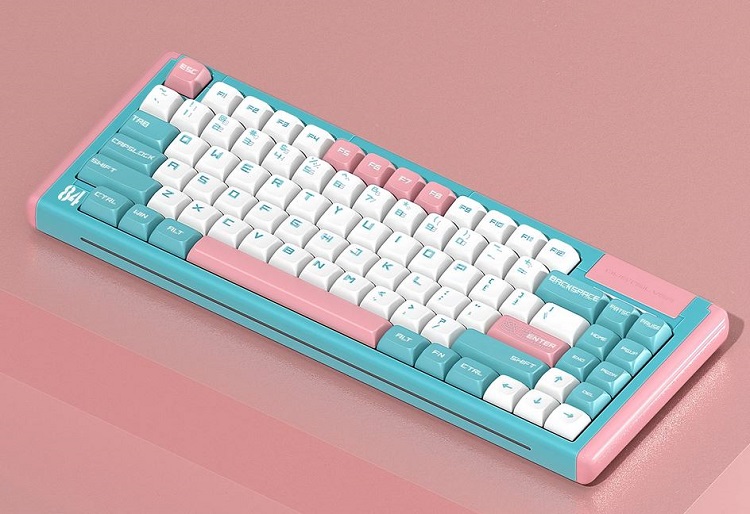
The beauty of mechanical keyboards lies in their ability to customize. Even if you get a commercially available keyboard, you can simply customize it as per your requirement and enjoy using it. But can you make a mechanical keyboard from scratch?

You can build a custom-made mechanical keyboard from scratch if you have the right tools and knowledge about the keyboard. In this article, we shall discuss the complete procedure to create a new custom mechanical keyboard along with the required parts for construction.
To make a custom keyboard setup, you will need the following components with you:
- PCB (Printed Circuit Board)
- Case
- Plate
- Stabilizers
- Switches
- Keycaps
- USB port and cable (probably comes with your PCB)
There are several types in each of these components. For example, there are different types of switches and you may select whatever type you like. We shall discuss it briefly in the last section. But now let us get to the tools required and understand the procedure.
With these basic components, you can create a custom-made mechanical keyboard. Along with this, you will also need the following tools to assemble the keyboard properly:
- Screwdriver set
- Switch puller
- Keycap puller
- Switch opener
- Switch films
- Lube for springs
- Wire Cutters
- Lube for Stabilizer
- Soldering set (If you are going to use soldering switches)
Once you have gathered all these components and tools, you can now start the assembly procedure of the keyboard.
Procedure to Assemble a Custom-Made Keyboard
First, connect the PCB to your PC and check whether it is working properly. You can use a pair of tweezers to close the circuit and check the board connectivity.
Now using the switch opener, lube your switches. You need to remove the casing and lube the housing, stem, and spring. This process will increase the smooth actuation of keypresses. Also, there will be less noise and higher tactility.
The next step is to install the stabilizers. You have to do so mod to the stabilizer to improve the user experience. You have to clip, lube, and use a band-aid for the stabilizer before installing it.
Place the stabilizers on the board appropriately. You can use the keycaps to mark the location and place it properly.
After stabilizers, you have to install the switches onto the plate and fix the setup onto the PCB. Place the switches on the plate with the appropriate layout and then straighten the pins so that they can fit onto the board properly.
Now if you have hot-swappable switches, they can be fixed directly onto the board and don’t require any soldering of the pins. If you aren’t using such a switch, then you need to move on to the soldering procedure.
Using a soldering gun, solder each switch to the board. You have to solder the pins on the PCB properly and make sure the switches are intact. After soldering, test the keyboard once again to check whether everything is working fine.
The next step involves preparing the case. You can use a foam pad to give a base to the keyboard case. But it is not necessary. You must add rubber feet to the case to keep the keyboard on a proper stand.
After preparing the case, fix the plate, PCB, and switch assembly onto the case. Usually, you might have to screw the PCB onto the case.
The final step is to install the keycaps. Place the keys in the appropriate position and simply press them down to lock over the switch. It is pretty easy and very satisfying to place the keycaps.
That is all! You have successfully created a custom mechanical keyboard as per your liking and requirement. Now let us discuss the different factors you must consider before building a keyboard and the different types of components available to match your requirement.

Factors to consider when building a mechanical keyboard
There are three main factors you need to consider before making a custom keyboard. They are:
- Keyboard Size
- Type of Switch
- Duration of Build
Keyboard size
According to your hand size and comfort, you must choose the keyboard size. The size has to be planned prior to buying the components for it. There are different sizes in keyboards that are listed below and you can choose any size from them:
- Full Sized
- 1800-Compact
- Tenkeyless
- 75%, 65%, 60%, and 40%
- Macropad
Type of switch and other features
The switch model is an important factor that will determine the typing experience. There are three major types of switches namely Linear, tactile, and clicky.
Linear switches are very smooth and actuate freely without any bumps. Tactile switches provide bumpy feedback when pressed. While the clicky switches give out loud click noise when typed.
There are cherry MX switches, Gateron Switches, Razer Switches, etc. and you can pick any of them as per your comfort.
Other features
This includes the type of PCB, the material of the keyboard case, and the type of stabilizer. As for the type of PCB, you can either choose soldering PCB or Hot swappable PCB.
The material of the case can vary from Plastic, Acrylic, and Aluminum. The type of stabilizers includes plate mounted, screw, and snap-in.
Apart from these, you can choose whether you want RGB lighting in your keyboard and QMK firmware. QMK helps you to program your keys as per your liking.
Duration of build
This is a major factor that people might often ignore. It is not a condition that you will get everything you need whenever you want. Some parts might be unavailable and you might have to wait. It also depends on how you are planning to build. You can either try to buy the in-stock parts available online or you can add yourself to group buys and wait for the parts to arrive.
In-stock parts might not have everything you need while the Group buys take months to deliver the parts as per your requirement. Therefore, consider the duration of the build also.
Conclusion
Custom-made mechanical keyboards are fun to build. Every tech enthusiast must try to build one on their own. This guide will provide you with all the information to build a custom-made mechanical keyboard.
Read More Here:
Are Mechanical Keyboards Better for your Hands
Can Mechanical Keyboard be Repaired
How to change the color of a mechanical keyboard
What is the best switch color for a mechanical keyboard
Can I vacuum my mechanical keyboard
How to fix unresponsive mechanical keyboard keys
