A signature stamp can save time, reduce repetitive signing, and help maintain consistency across documents. Many people choose this option for checks, business paperwork, or daily administrative tasks. But how does the process actually work from start to finish? In this article, we will look at the steps involved, starting from design submission and ending with the final delivery of the stamp.
By understanding each stage clearly, you can decide whether this method suits your needs and know what to expect before placing an order.
What Is the Process for Getting a Signature Stamp?
The complete process involves several steps. It begins with preparing your signature and ends with receiving the finished stamp at your doorstep. Each phase plays an important role in getting an accurate and long-lasting result.
We will go through every step in detail so you can follow the procedure without confusion.
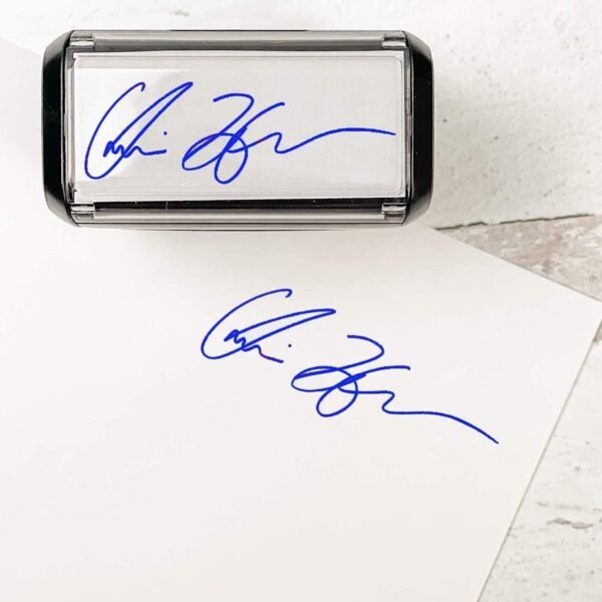
Step 1: Preparing Your Signature
The first step is creating a clean and clear version of your signature. This is an important stage because the quality of the final stamp depends heavily on the clarity of the submitted design.
You can write your signature on plain white paper using a dark pen, preferably black or blue. Avoid lined or textured paper since those markings may appear in the scan. It is better to write several versions and choose the one that looks natural and consistent.
Once you are satisfied, scan the signature using a good resolution. Most stamp manufacturers recommend at least 300 DPI to capture the fine details. If you do not have access to a scanner, a photo taken in good lighting without shadows can work, provided the background is clean.
Step 2: Submitting the Design to the Manufacturer
After preparing your signature, the next step is sending it to the stamp provider. Many manufacturers allow uploads directly through their website. Others might accept email submissions.
At this stage, you might also have the option to select the stamp type. Common choices include:
- Self-inking stamp
- Pre-inked stamp
- Traditional rubber stamp with a separate ink pad
Each one has its own advantages. For frequent daily use, many choose self-inking or pre-inked stamps because they are convenient and have a longer lifespan.
Some providers may also ask you to specify the preferred stamp size. It is better to choose a size that matches the original signature proportions to keep it realistic.
Step 3: Reviewing the Digital Proof
Once the manufacturer receives your signature design, they will convert it into a digital format suitable for stamping. This usually involves removing any background marks and sharpening the lines so the stamp can produce a clean impression.
You will receive a digital proof for approval. This is an important step because it gives you the chance to confirm that the stamp reflects your signature accurately.
Check the following during the review:
- Line thickness
- Overall shape and angle
- Spacing and clarity
If anything appears distorted or unclear, you can request changes. Most providers allow minor adjustments without extra cost. Approving the proof finalizes the design phase and moves the process to production.
Step 4: Manufacturing the Stamp
After the proof is approved, the production process begins. The manufacturing method may differ based on the stamp type selected earlier.
For traditional rubber stamps, the signature design is transferred onto rubber material and cut with precision. In the case of pre-inked or self-inking models, the impression surface is created using specialized equipment that holds ink internally.
At this stage, the primary focus is durability and accuracy. The goal is to produce a stamp that leaves a sharp and readable impression without smudging. The time taken for production can vary, but many providers complete this step within one to three working days.
Step 5: Final Quality Check and Packaging
Before the stamp is shipped, it undergoes a final check. The provider tests the impression on paper to confirm that the output matches the approved proof. Factors checked include clarity, alignment, and ink distribution.
Once the stamp passes the inspection, it is cleaned, assembled, and packed securely. If accessories were added—such as extra ink refills or a storage case—those will be included.
Step 6: Delivery to Your Address
The final step is shipping the completed stamp. Delivery times depend on your location and the shipping option selected during ordering. Many providers offer tracking details so you can monitor the shipment.
After receiving the stamp, test it on plain paper. Allow the ink to settle if you are using a pre-inked model since some may require a few impressions before reaching full clarity.
How to get a Signature Stamp: Key Factors to Consider Before Ordering
Before placing an order, it helps to keep a few things in mind:
- Use a clear and natural signature
- Choose the stamp type based on how frequently you will use it
- Pick the right size for realistic results
- Review the digital proof carefully
- Consider ordering backup ink if needed
Following these points can help you avoid common issues and get a satisfying result.
Final Thoughts
Understanding the complete process from design submission to final delivery helps you make an informed choice. Whether you need a stamp for business paperwork or everyday documents, the procedure remains simple and straightforward.
With the right preparation and careful review of the digital proof, you can receive a stamp that matches your signature accurately and lasts for a long time. So, if you have been wondering How to get a Signature Stamp, the process is clear and approachable, and you can begin with just a paper, pen, and a scanned copy of your signature.