Make advantage of epoxy putty to save time and effort! Learn about the many specialty putties that are available, such as epoxy putty for plastic, metal, and wood, epoxy putty for use underwater, and epoxy putty for use in high heat. To learn how to utilize them, continue reading.
A deeper look at epoxy putty
Epoxy putty is a word for a strong glue that binds, repairs, and cures holes, leaks, and rips. It is noted for being a pliable paste-like material that can be molded into many shapes. Two-part epoxy putties are activated by mixing their two components, which were previously kept separately and solidify at room temperature.
Applications of epoxy putty
Epoxy putties are pliable materials that may be used to patch up holes and cracks. They may also be molded into stronger structural components. Epoxy putty may be used as modeling clay to fill odd and uncomfortable spaces, such as those around tiles or in window corners, before it has entirely dried. Due of its water resistance, it may also be used in locations that are damp, wet, moist, or leaky.
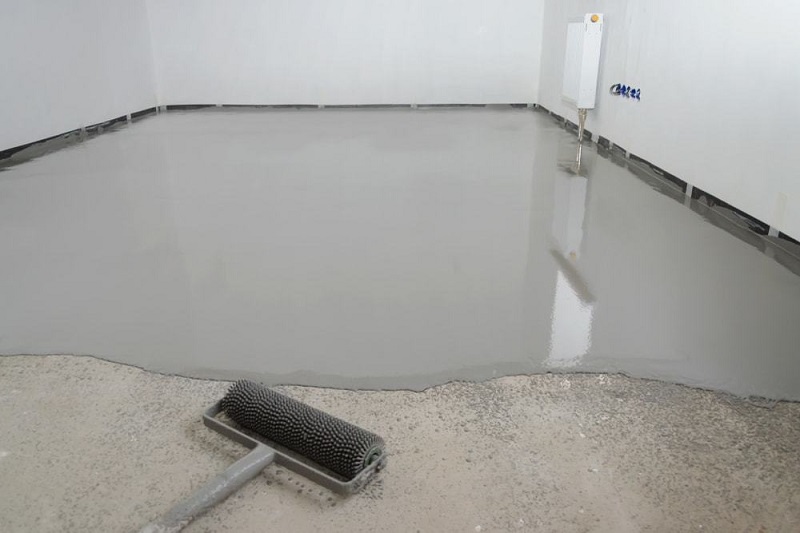
Epoxy putties may be used to attach objects into concrete walls; however, this is not what they are often employed for. The kind of surface you want epoxy putty to cure on will determine the sort of epoxy putty you need to use while applying it.
Epoxy putty use
The proper way to apply epoxy putties for all of your repairs and gap fillings is shown here. Your equipment Common tools include knives, sandpaper or wire brushes, gloves, and a moist towel.
Security first
After applying epoxy putty, wash your hands well and be sure to use gloves.
Make room and arrange your items there
Surfaces must be clear of oil, dust, and grease. If the surfaces are smooth and you want to apply epoxy putty to them, you should gently sand them since doing so will increase adhesion.
Get the epoxy putty ready
Make enough epoxy putty in accordance with the manufacturer’s instructions.
Use and fill out
Press the necessary quantity of epoxy putty into the hole, crack, or rip while keeping in mind the epoxy putty’s manufacturer-recommended curing time, and then smooth the putty over with your hands.
Using putty as a glue
Apply the epoxy putty to the necessary areas and press firmly to fuse the two surfaces together. You must exert pressure for a longer period of time on moist surfaces before the putty adheres.
Complete the task
With a moist cloth, spread the epoxy putty before it dries. How long you need to wait before sanding, drilling, or painting the epoxy putty is specified in the manufacturer’s instructions.
Clean-up
Hardened epoxy putty can be removed with a sharp knife, but it’s far simpler to remove it before it’s set.
Read More Related Posts Here:
Can Metals be Permanently Repaired using Metals Epoxy Putty
How can Metal Putty aid in our cracks
How Metal Epoxy is the Perfect Choice for Fixing Metal
How to Quickly Fix a Metal Pipe that has a Rust Hole
What are the Different Types of Metal Epoxy Putty
Consider Adding Epoxy Putty to your Repertoire of DIY Projects
Epoxy Home Repairs You Can Do Yourself
What is Epoxy Putty and how does it work
What Distinguish Plumbers Putty Epoxy from Epoxy Pipe Lining
How to Fix Leaking Pipes with Epoxy
How to Use Epoxy Putty to Fix a Small Leak
How to Use Epoxy Putty to Stop a Leak